
|
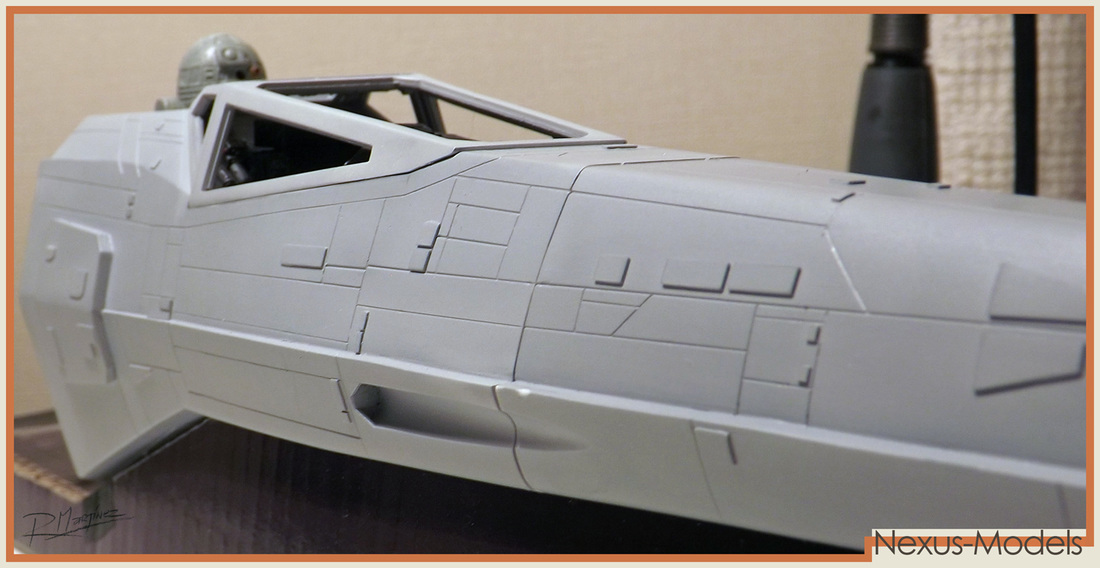
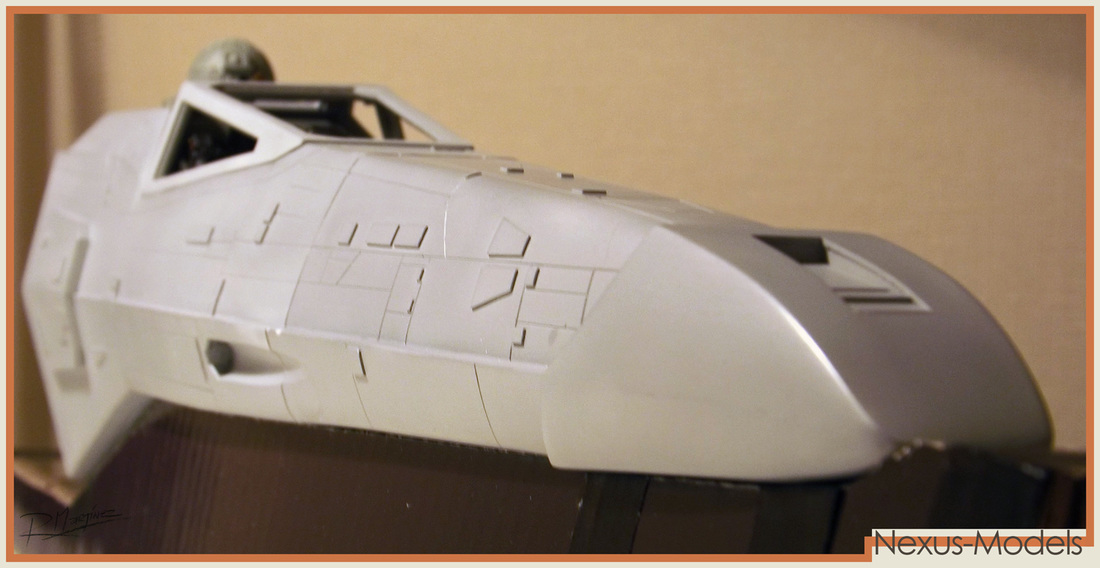
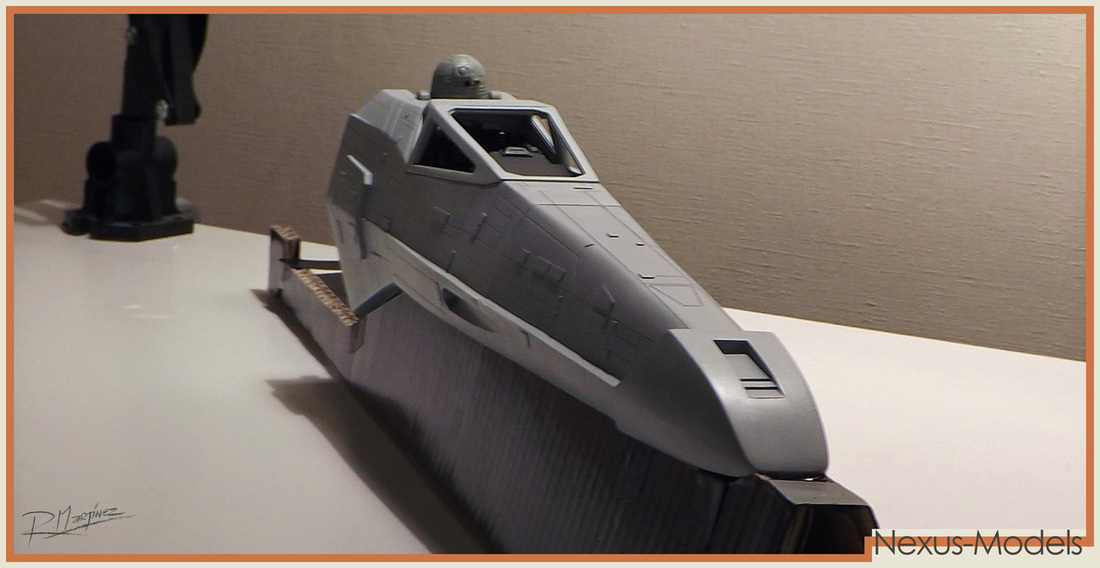
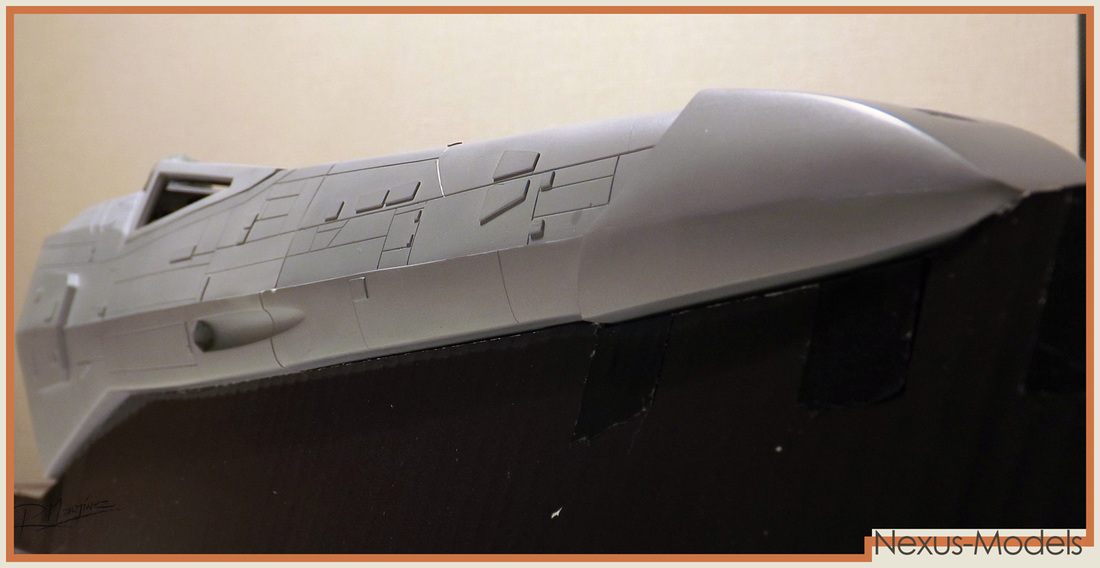
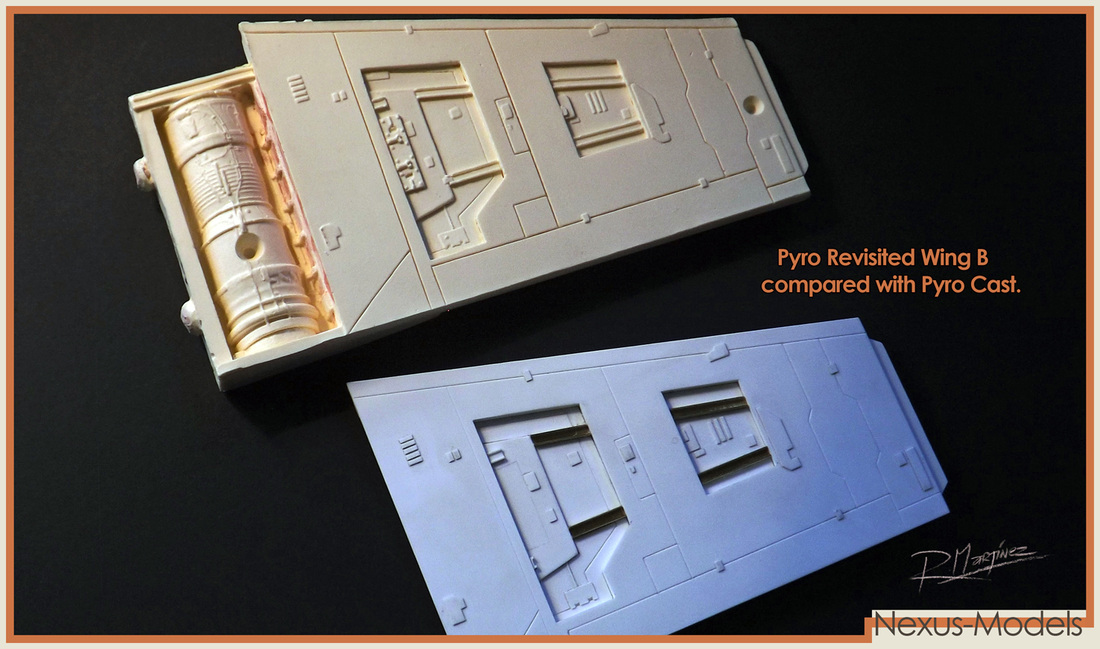
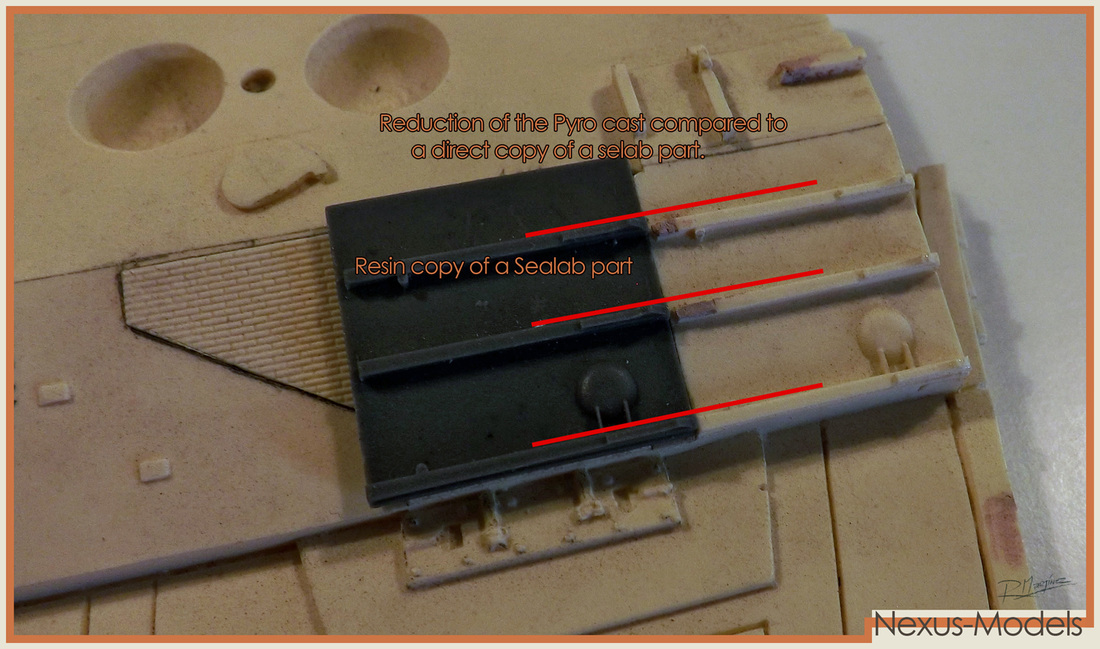
The yellow resin fuselage in the picture, is a 3rd generation cast of an original ILM Pyro X-Wing model.
|
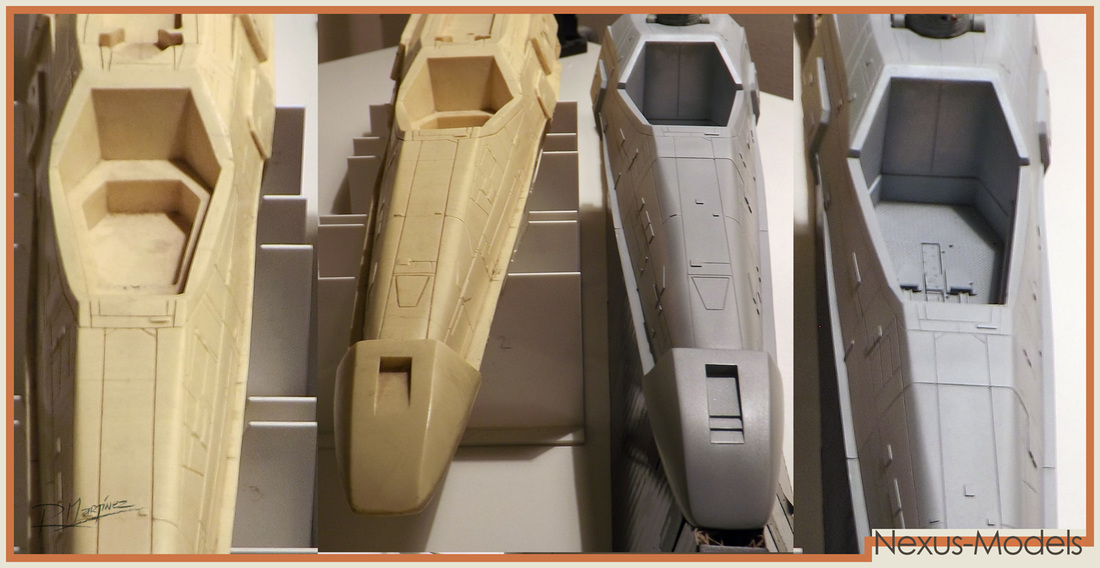
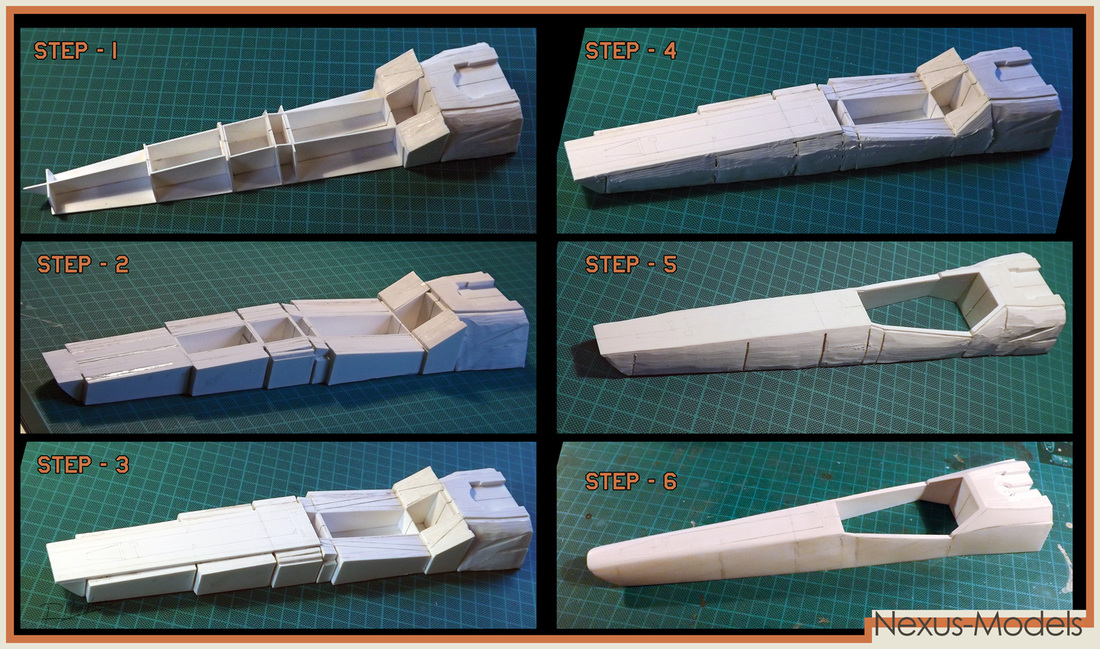
The Pyro Fuselage is completed now, and I am working in the molding process. I need to take new pics of the completed fuselage, here are some of the latest pictures I took, more will be coming soon.
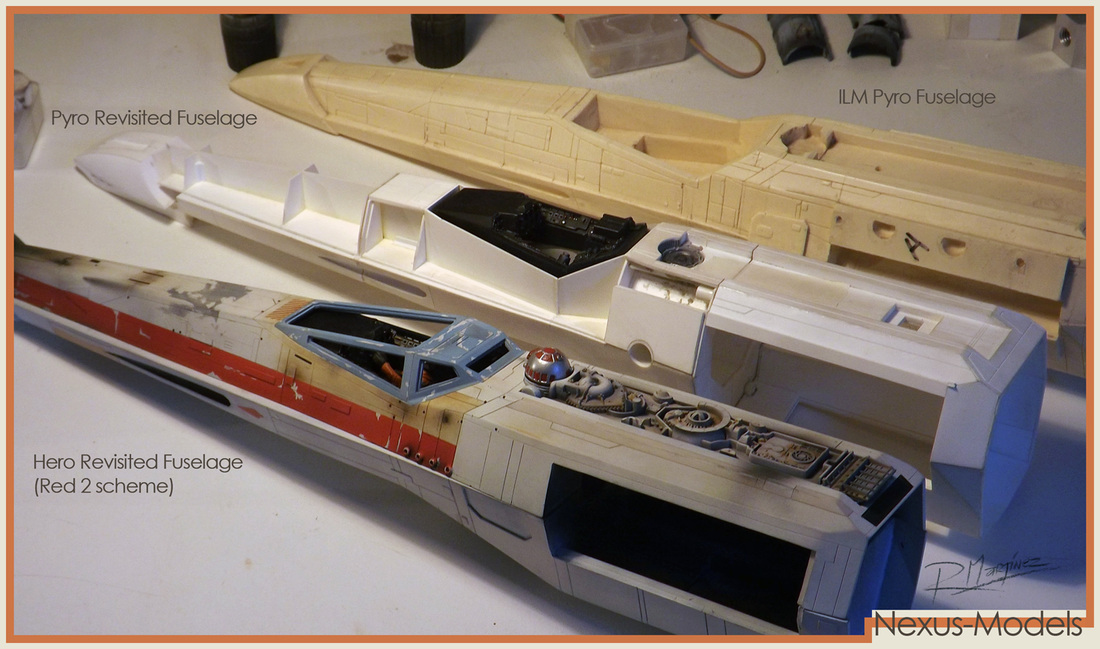
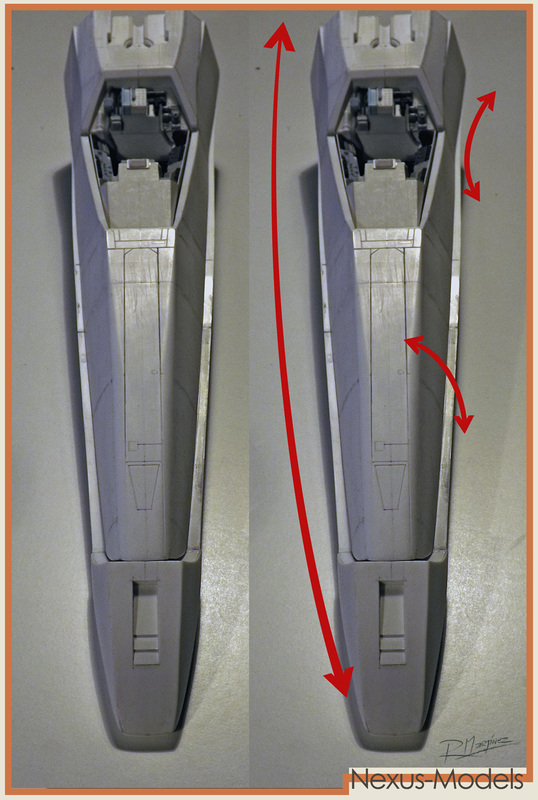
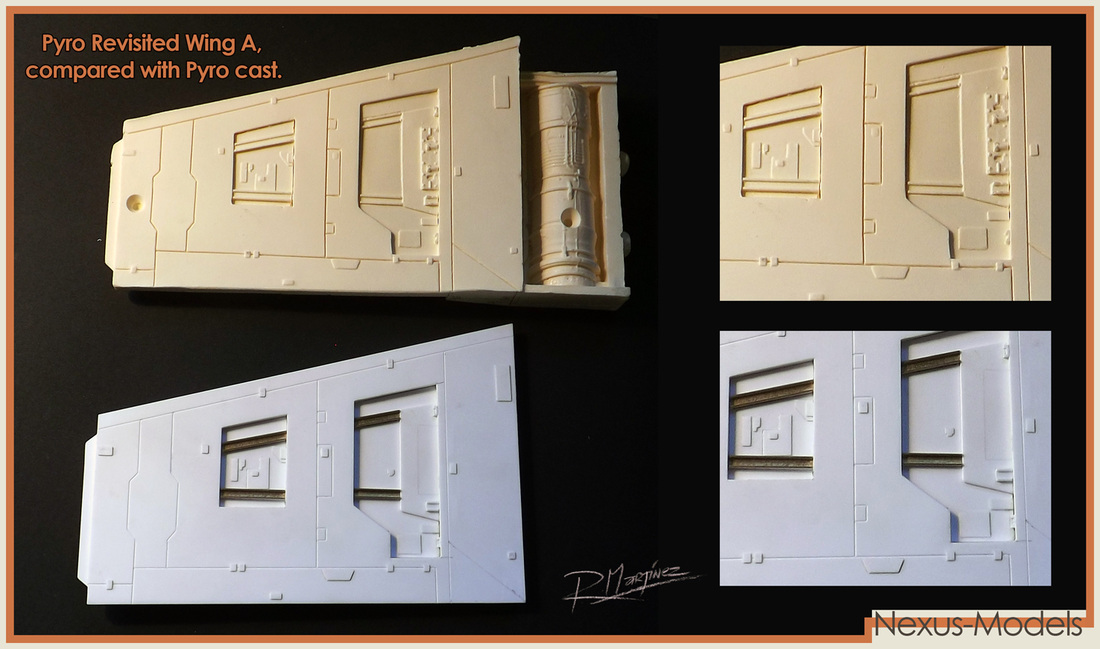
Compared Fuselages: Pyro cast and Pyro Revisited X-Wing
|

Compared Fuselages: Pyro cast and Pyro Revisited X-Wing
|
|
|
|
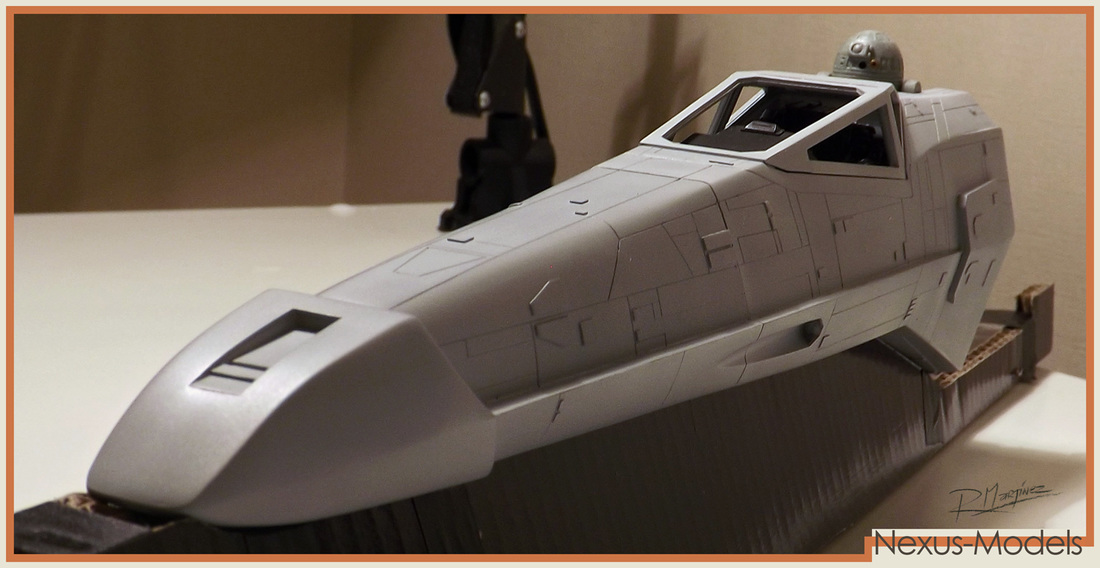
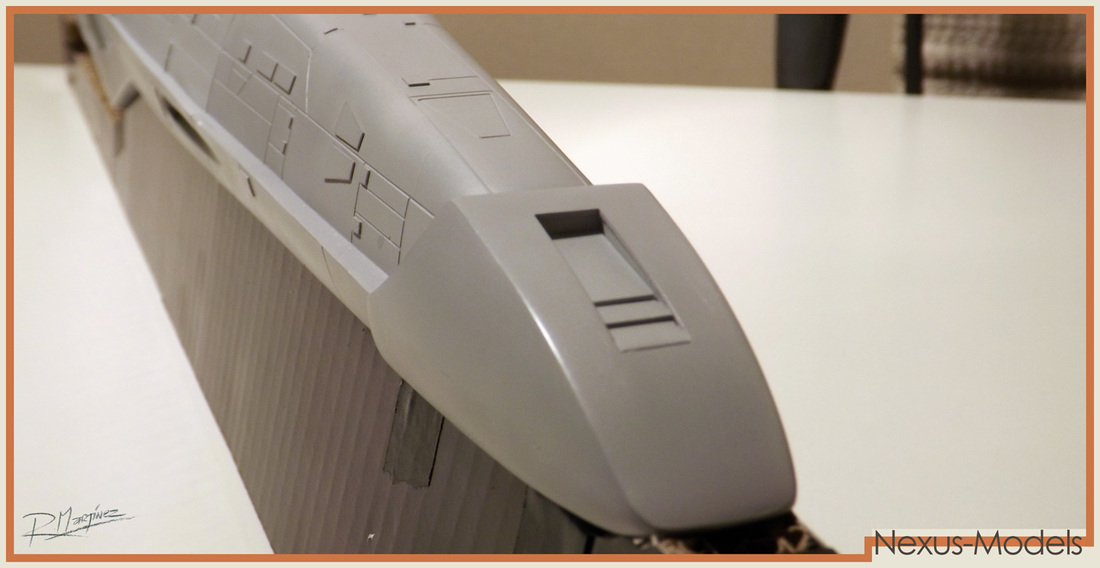
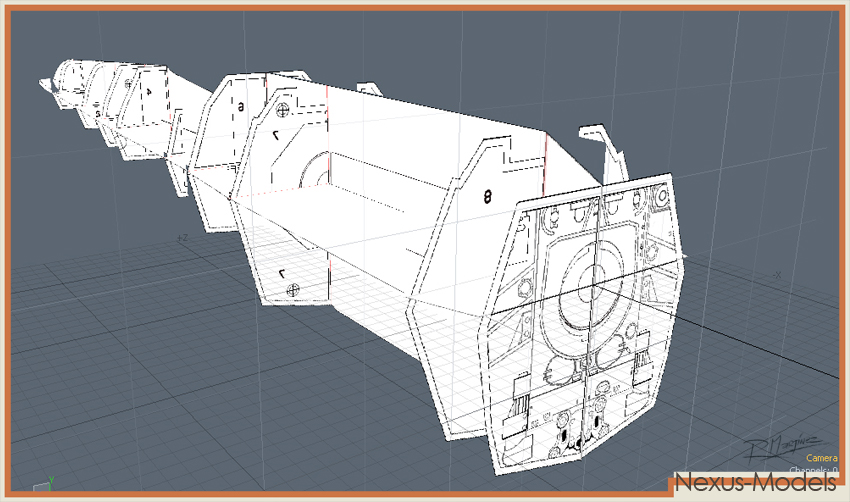
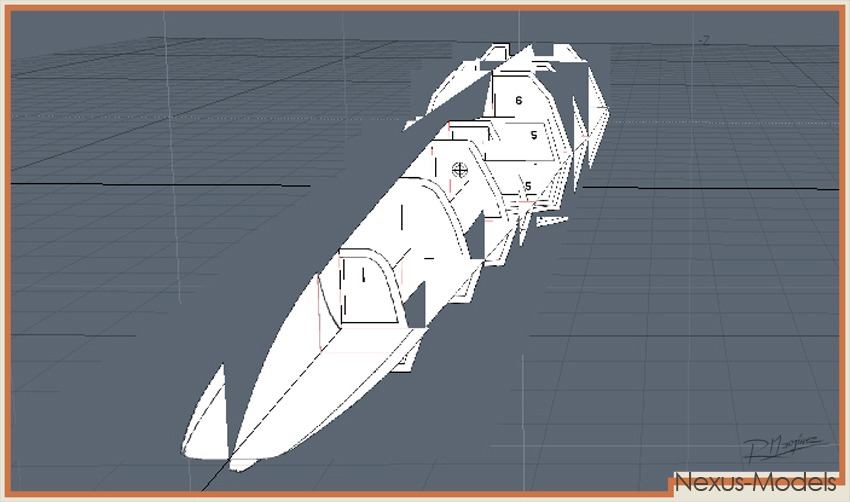
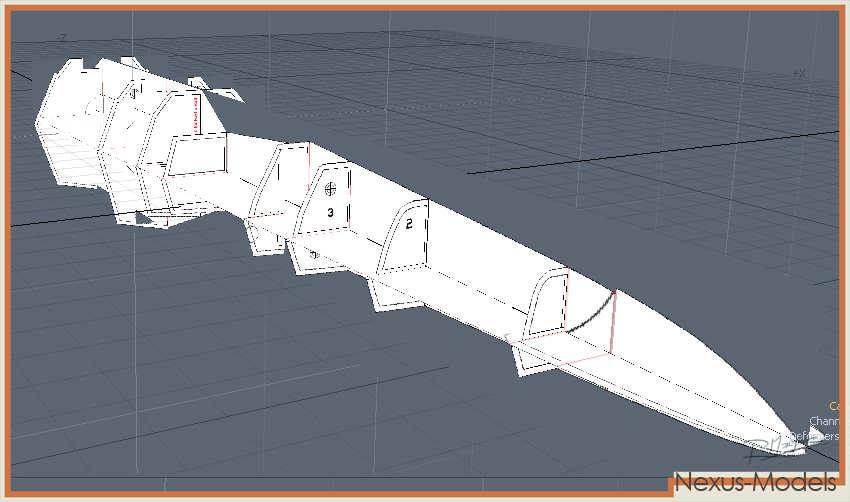
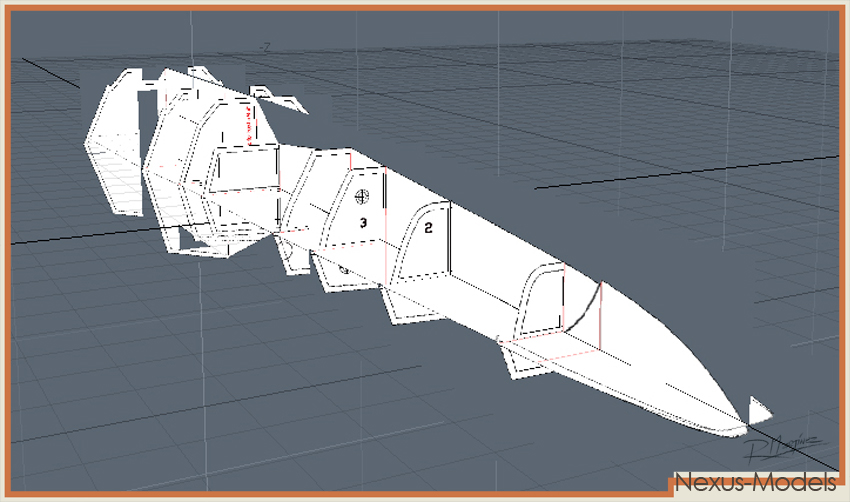
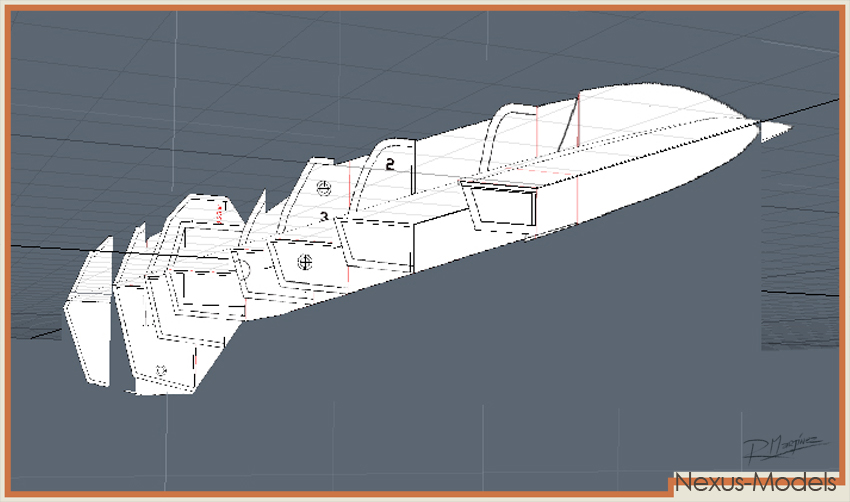
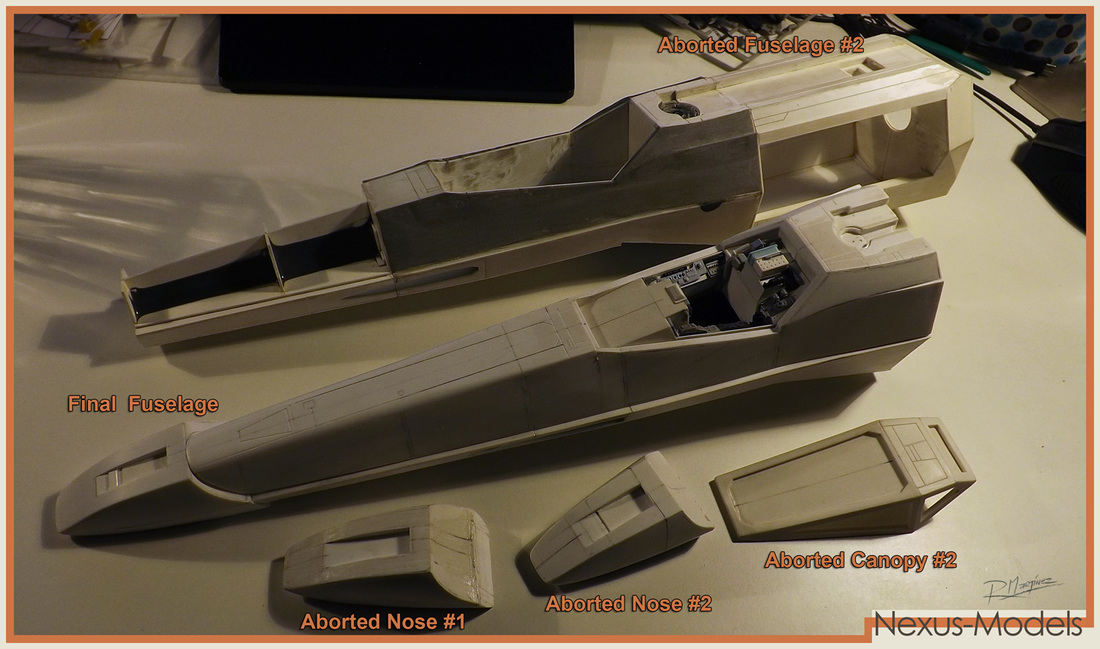
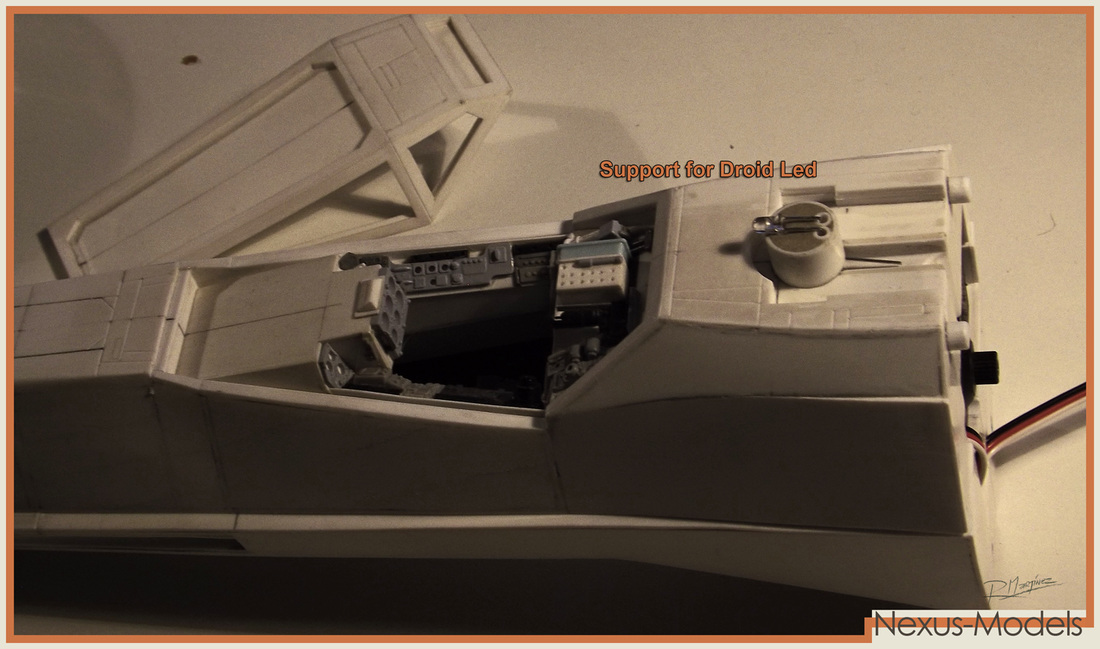
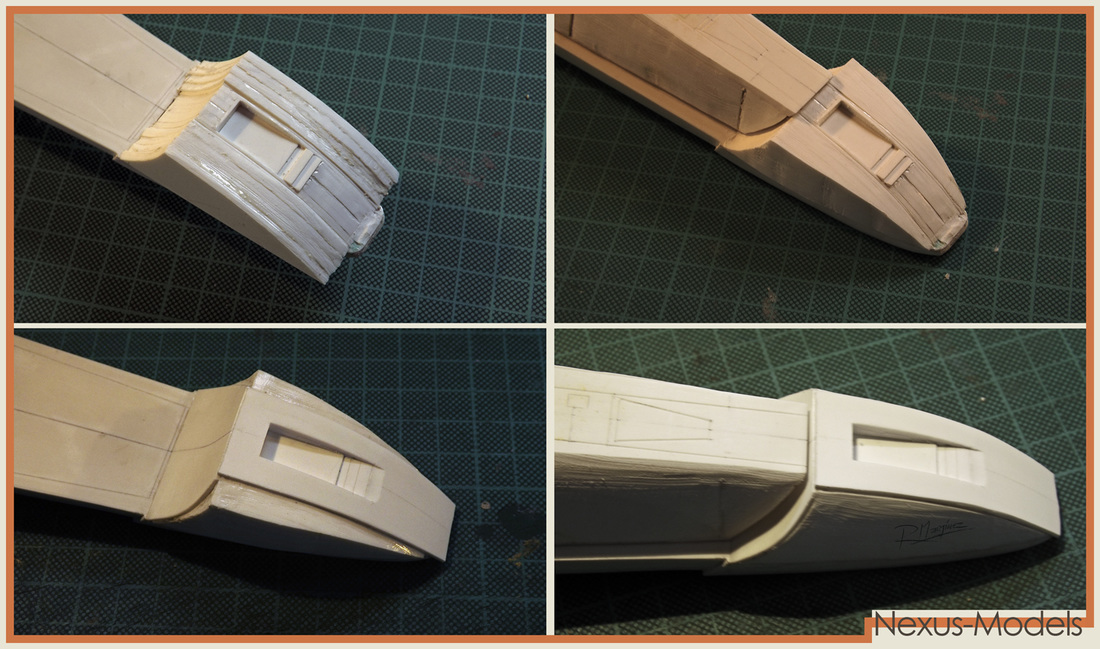
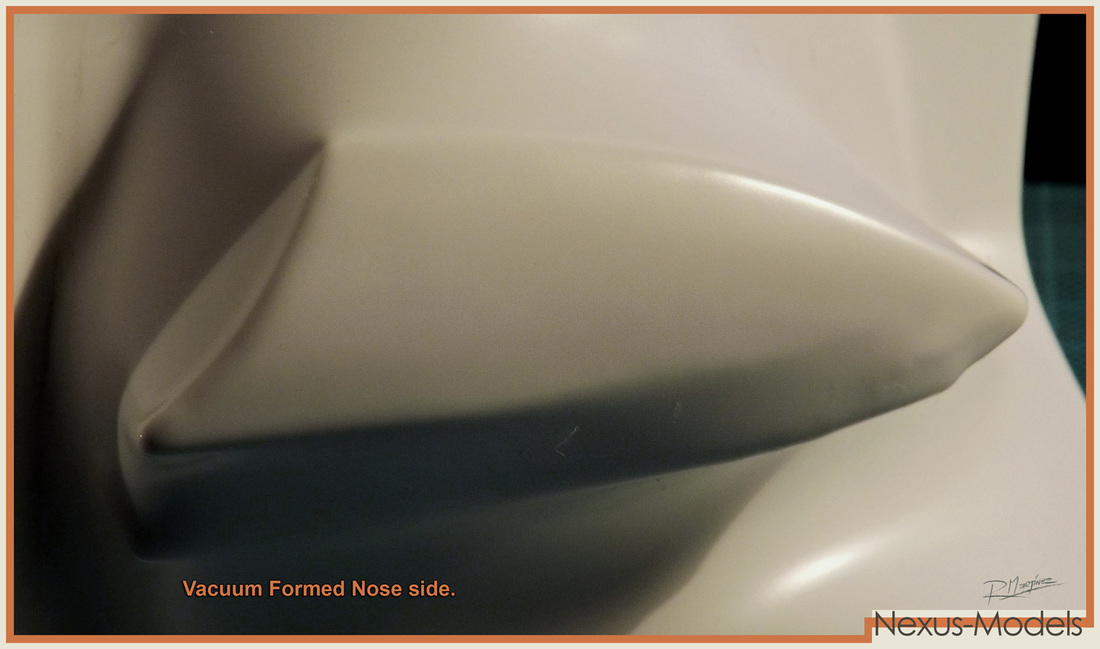
Building the Pyro Fuselage.
|
|
|
|

|

|
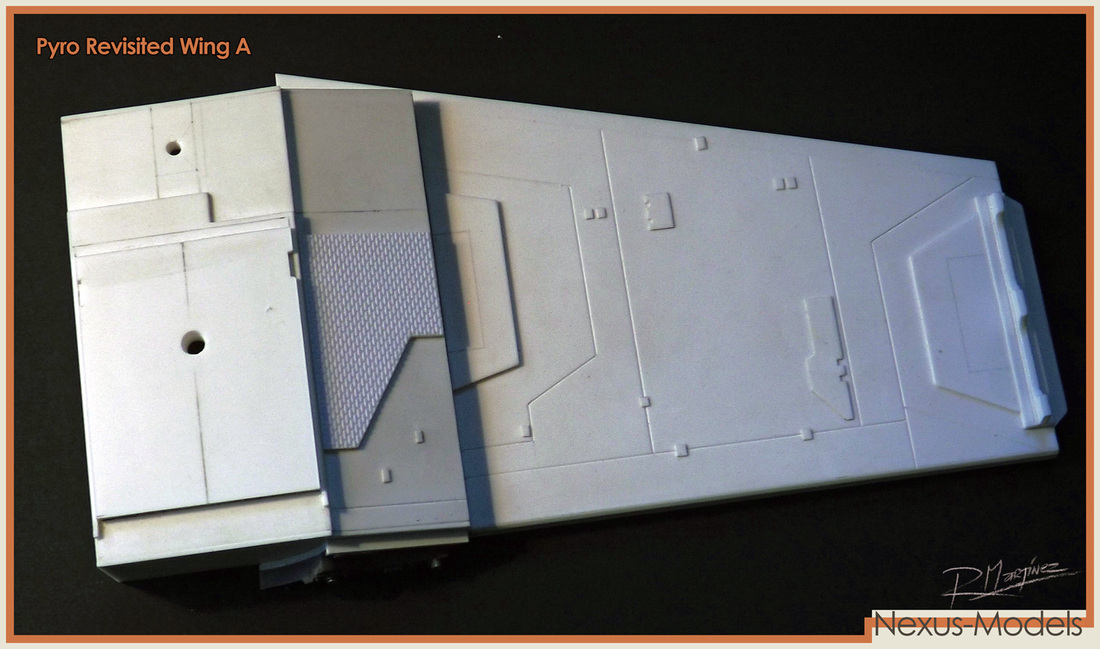
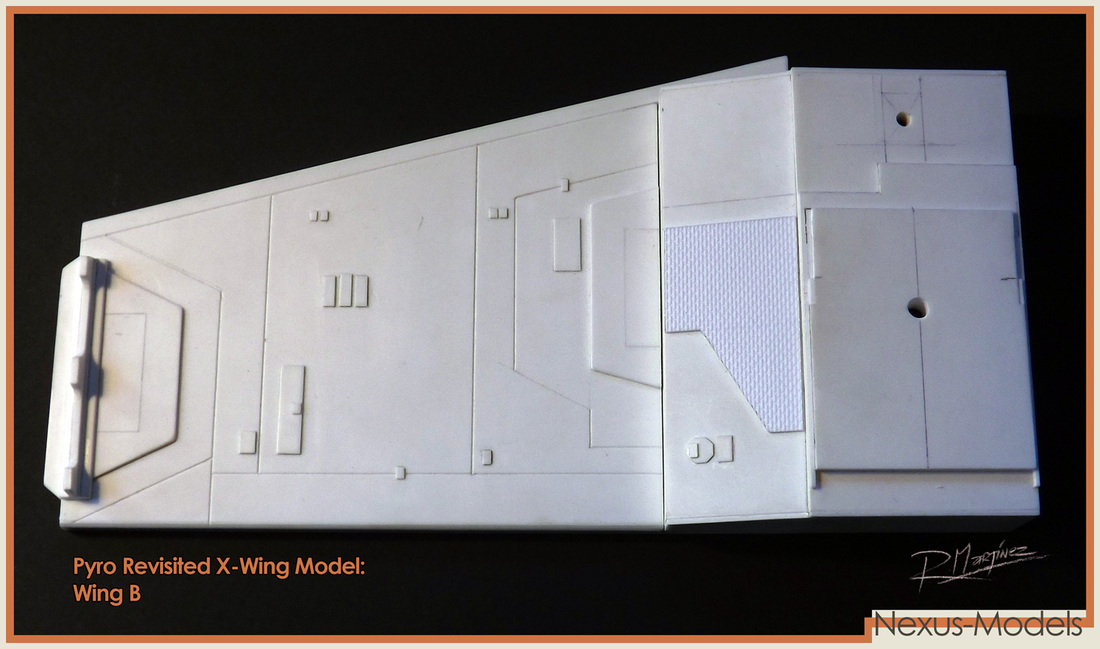
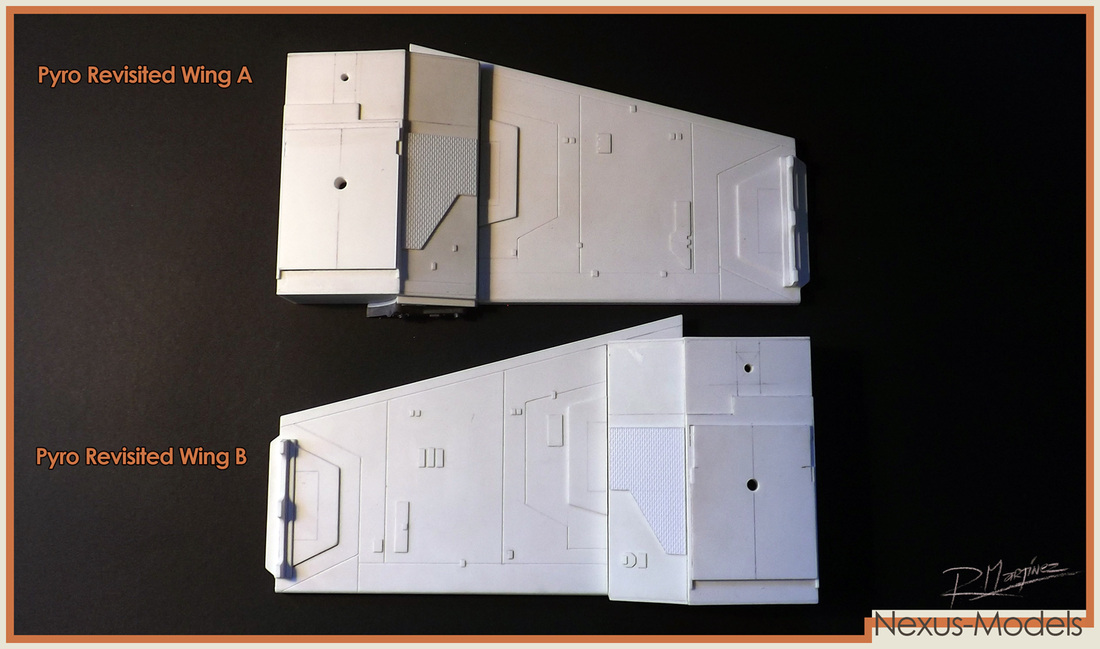
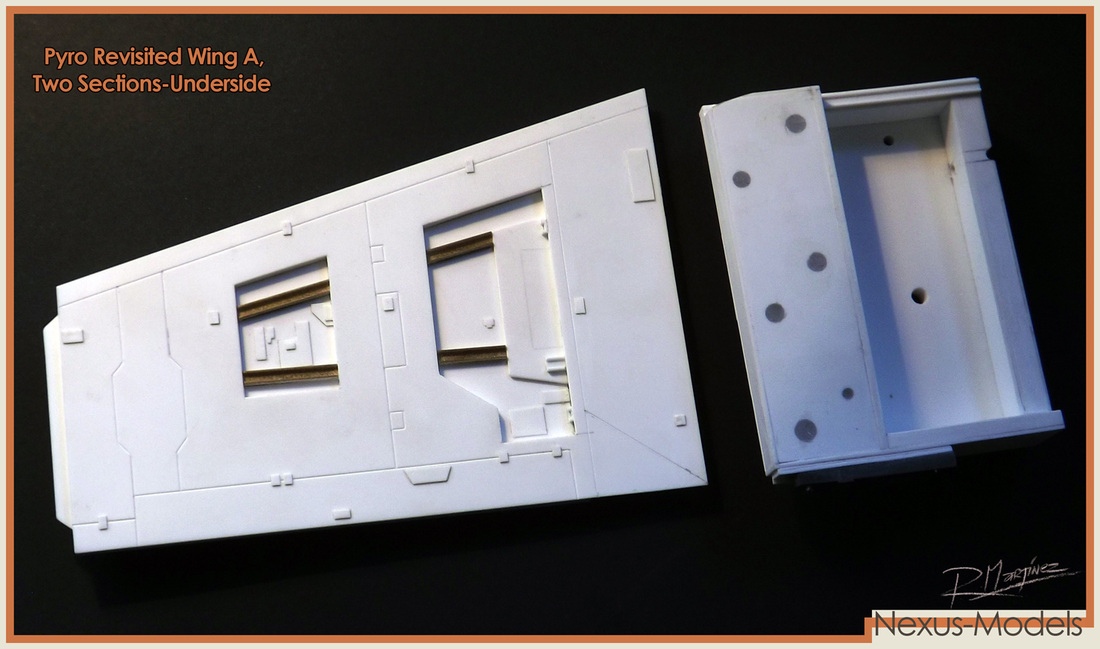
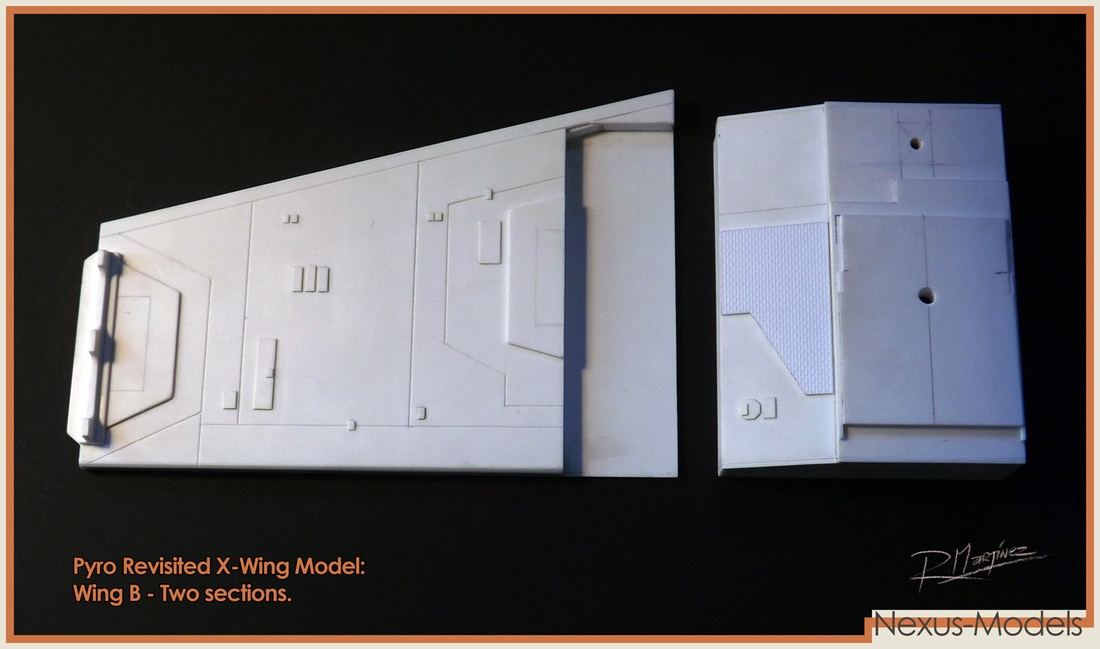
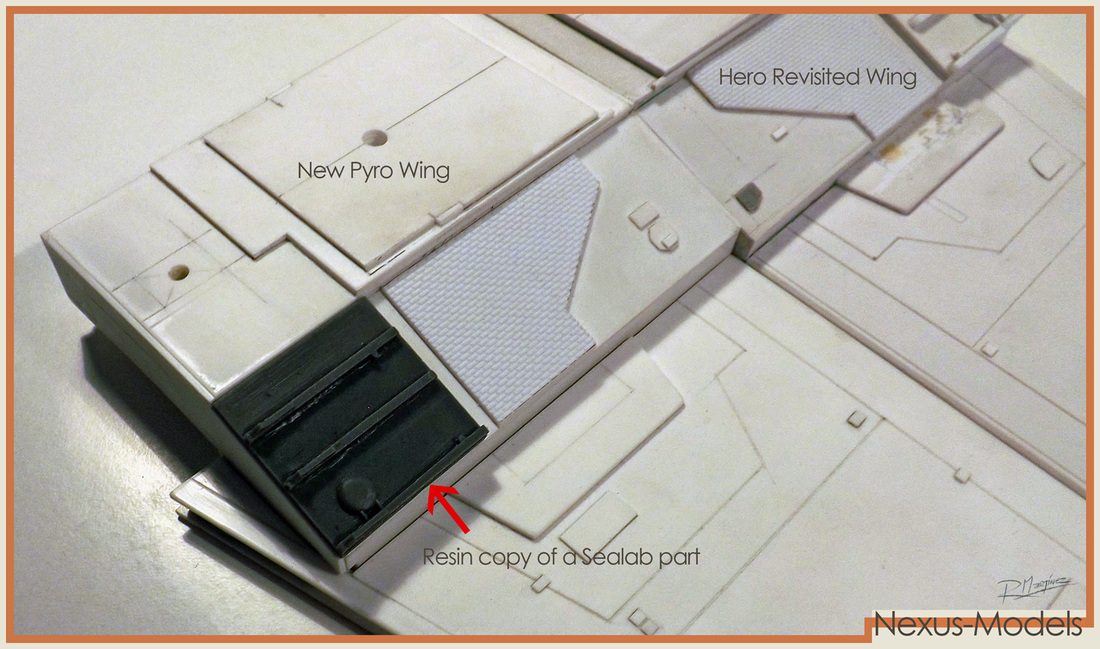
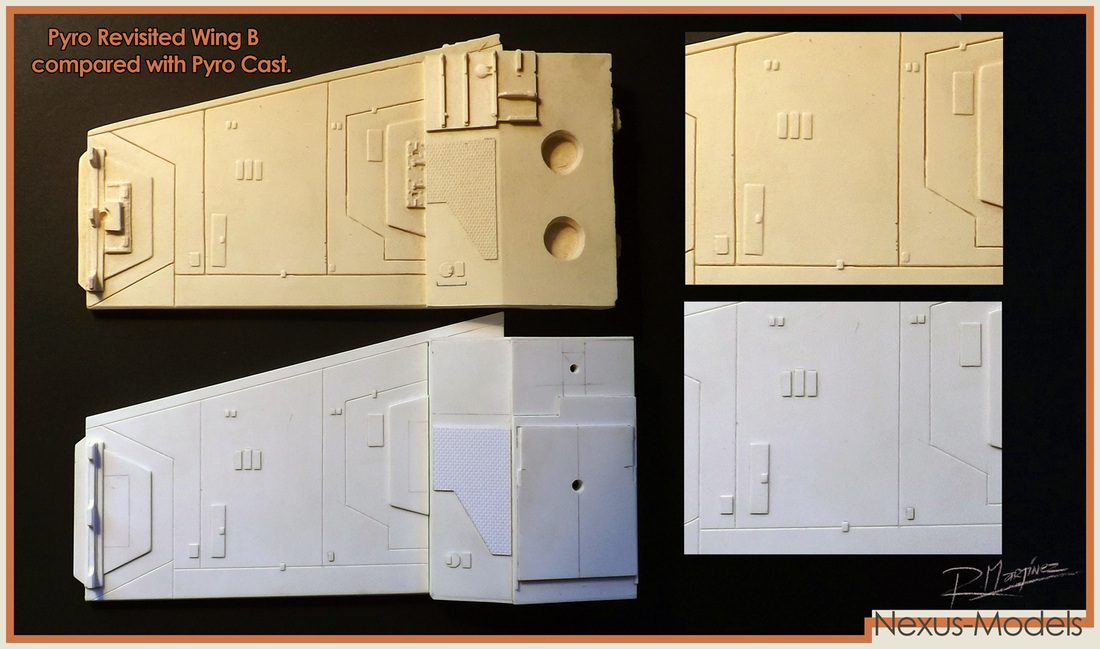
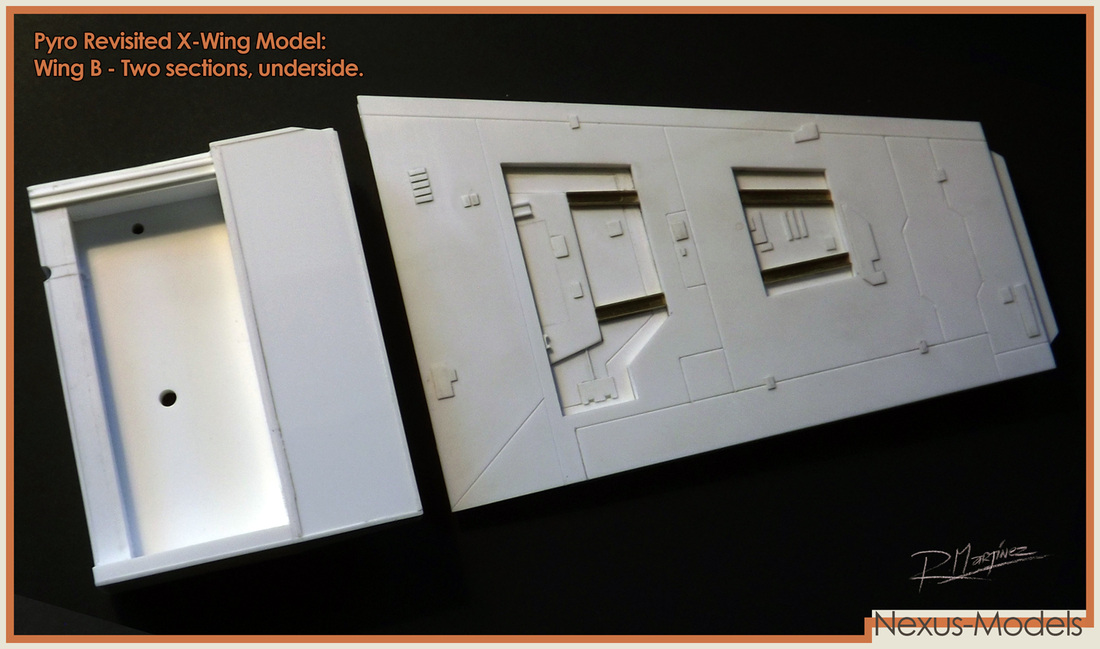
Pyro Revisited Wings
|

|
|
|
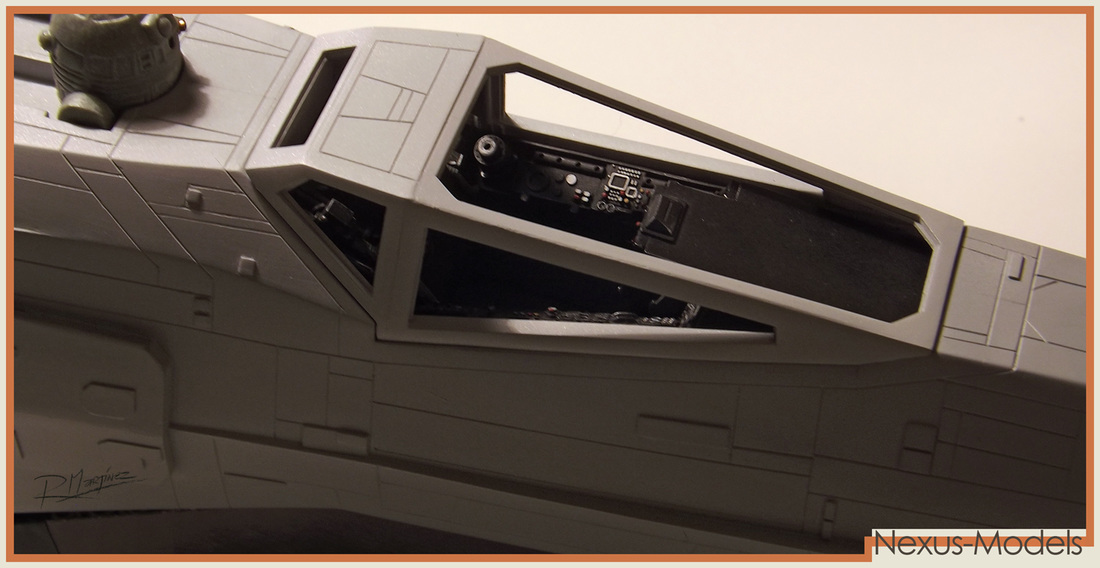
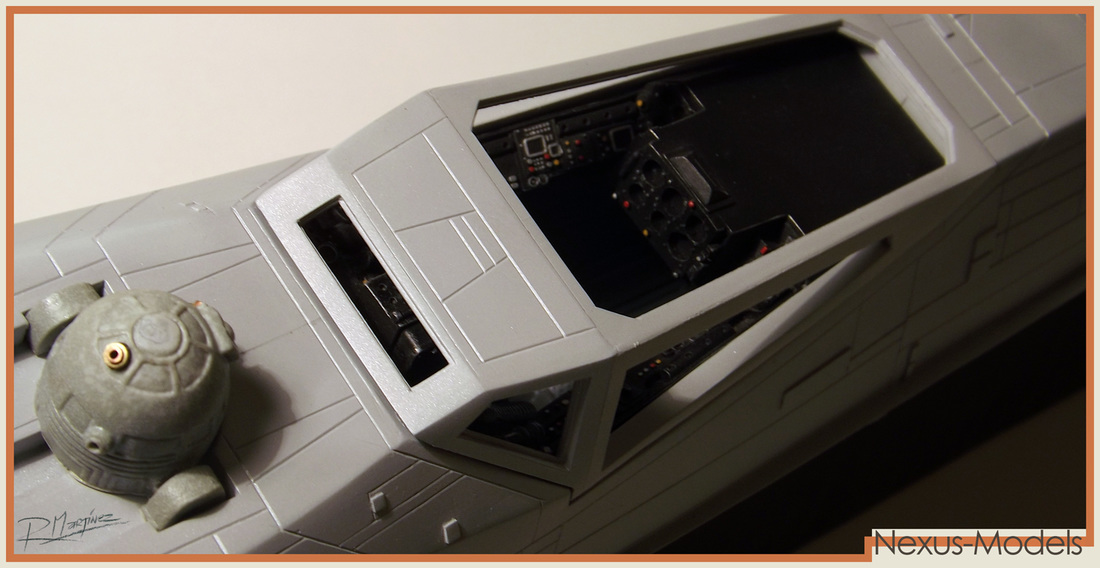
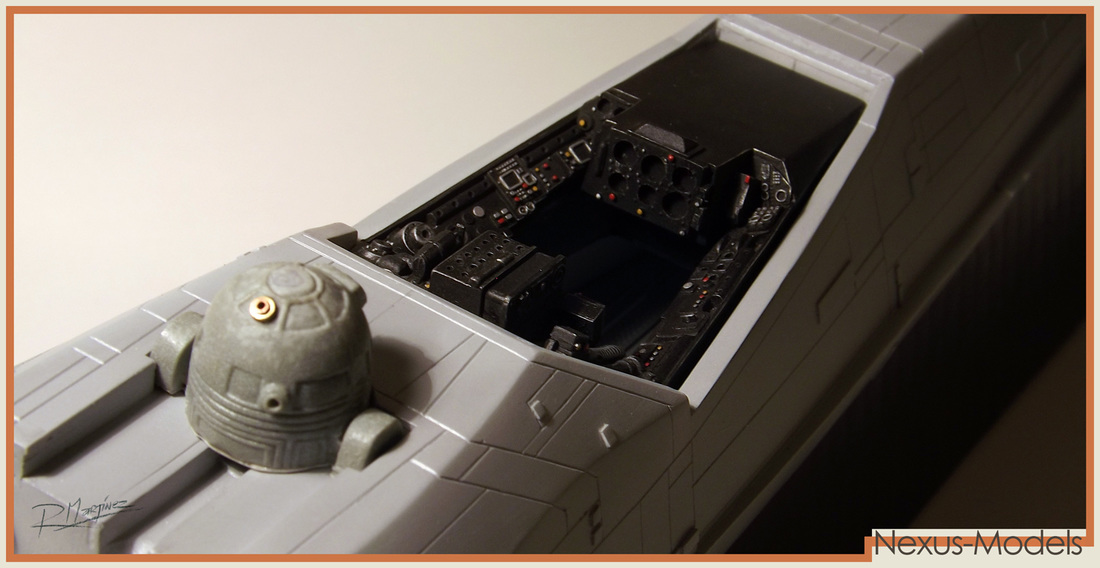
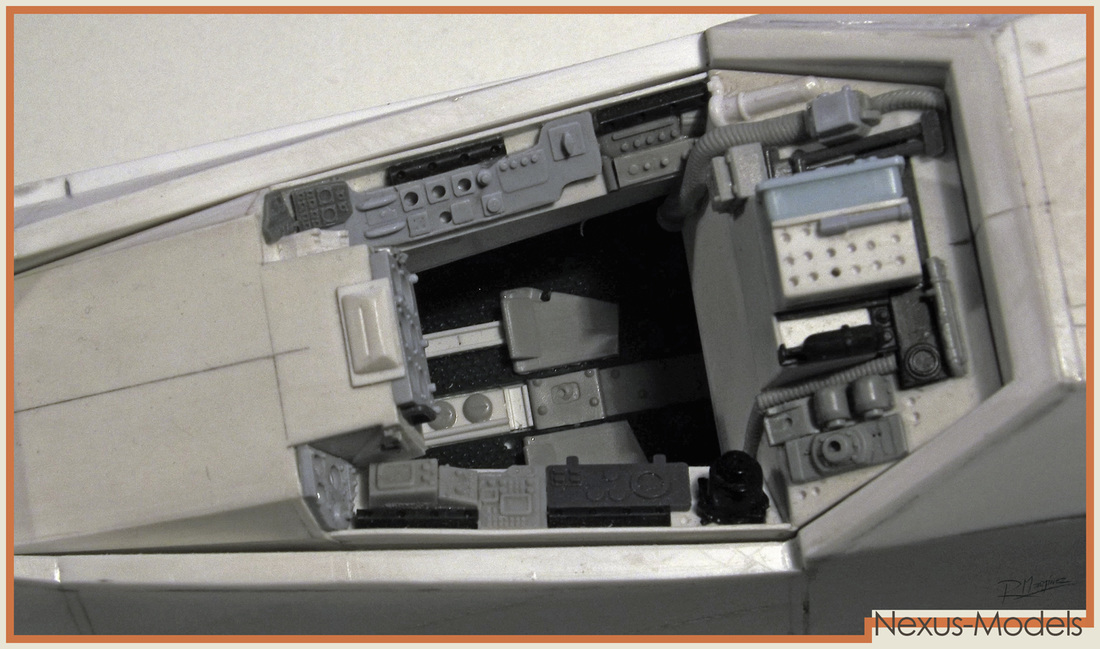
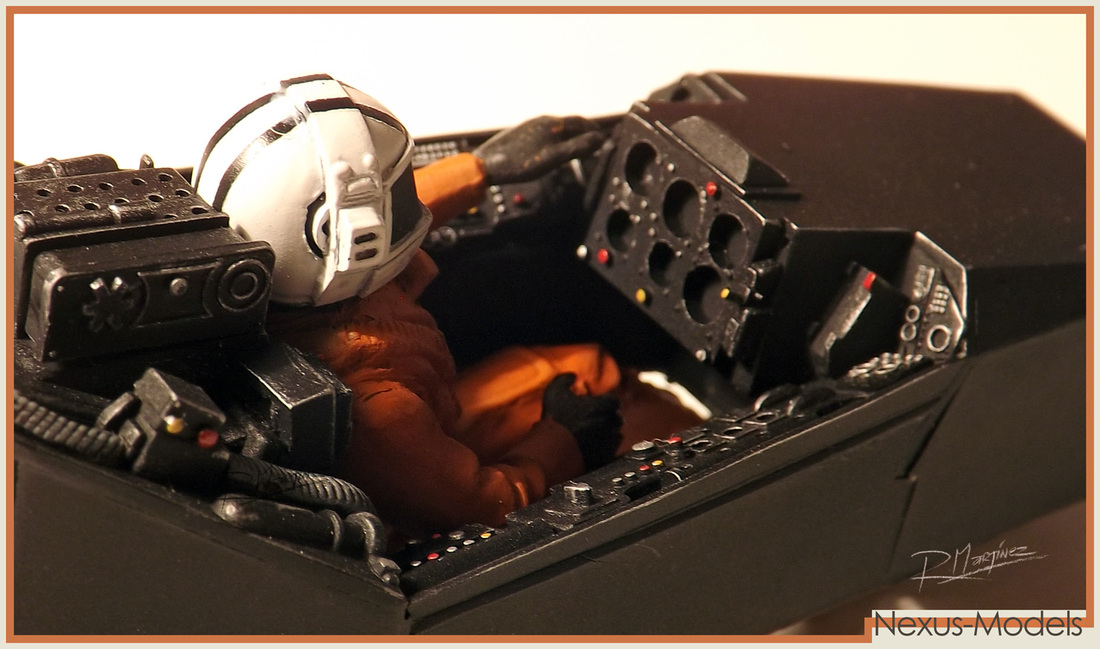
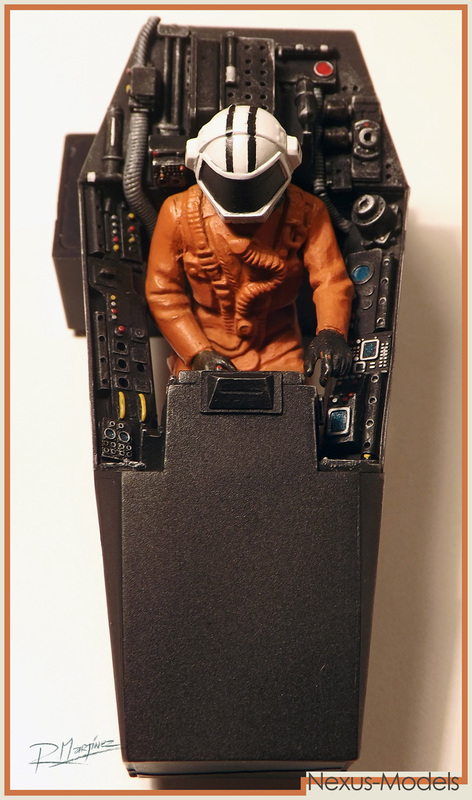
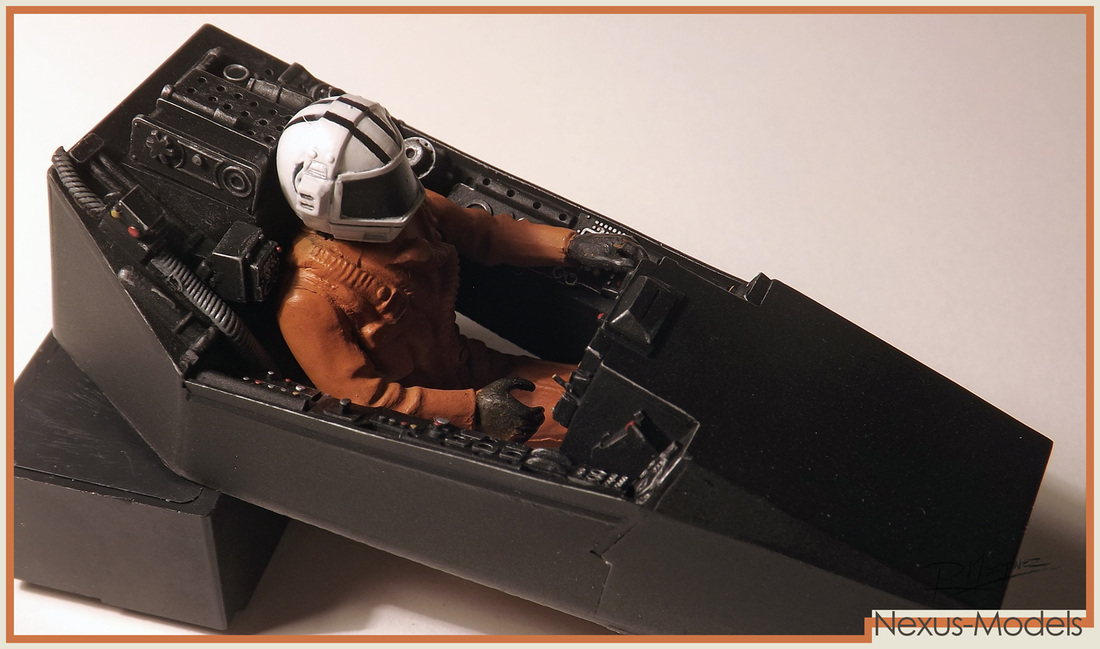
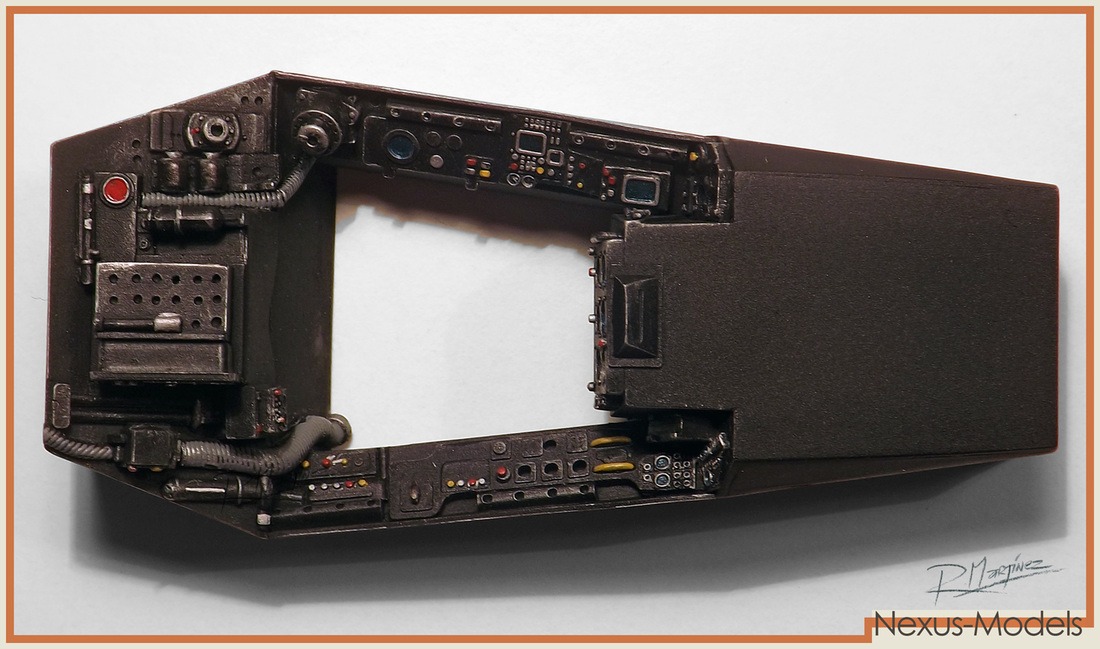
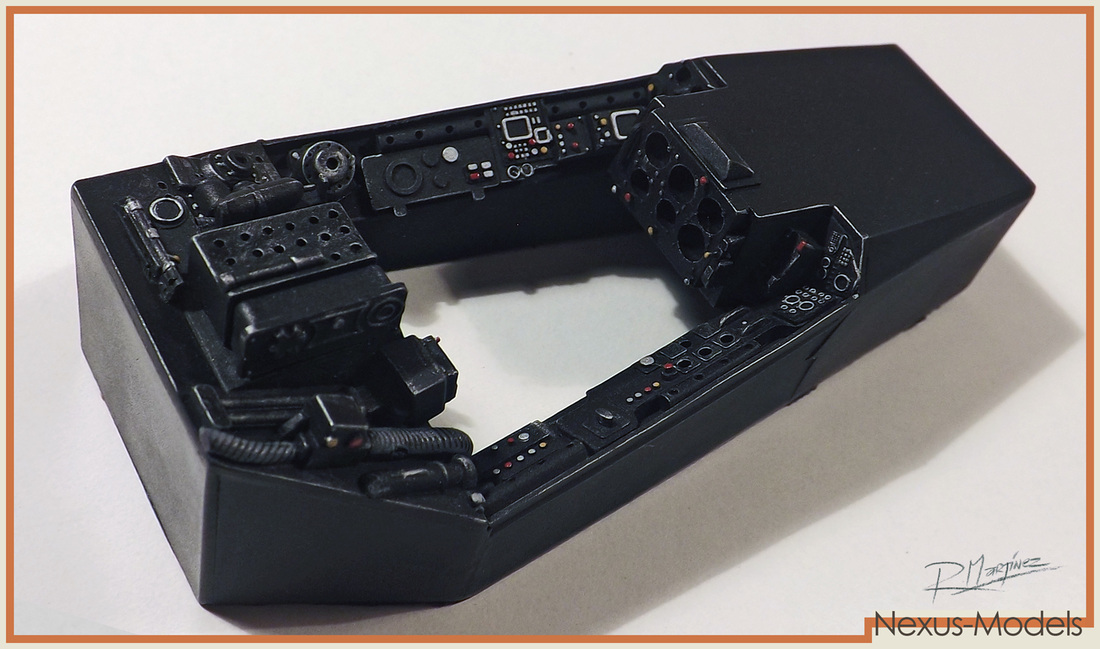
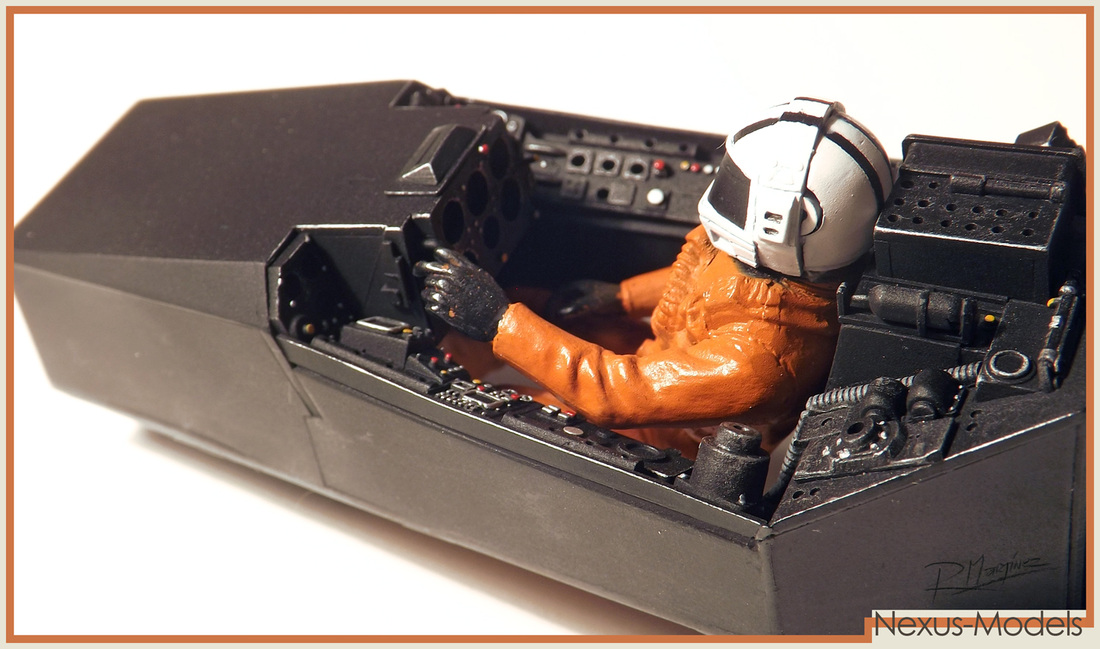
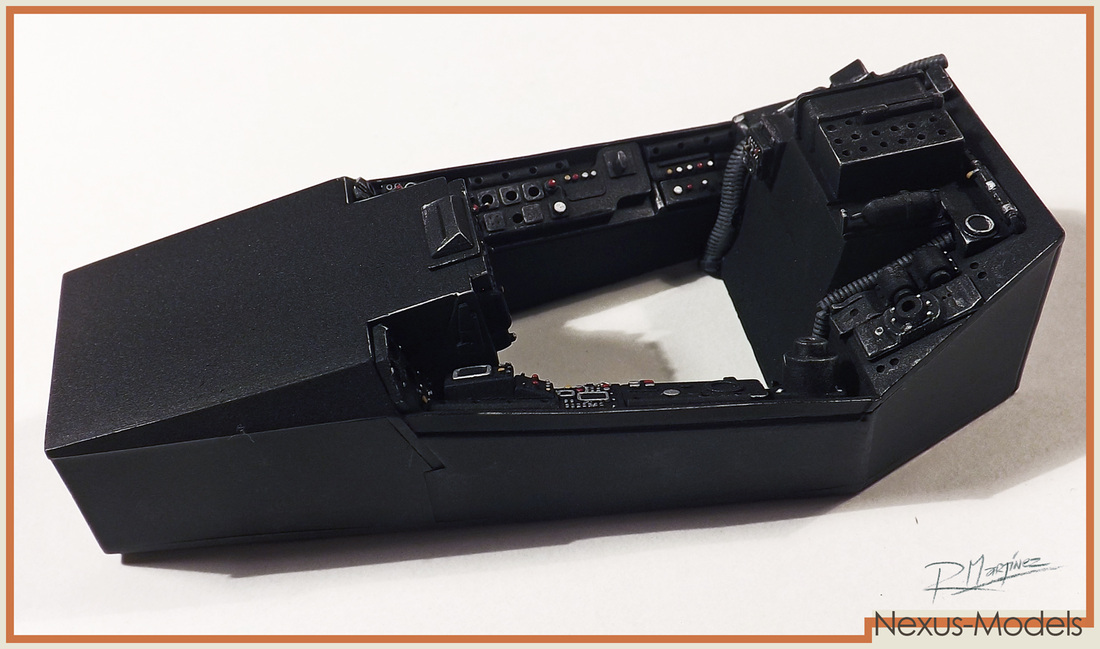
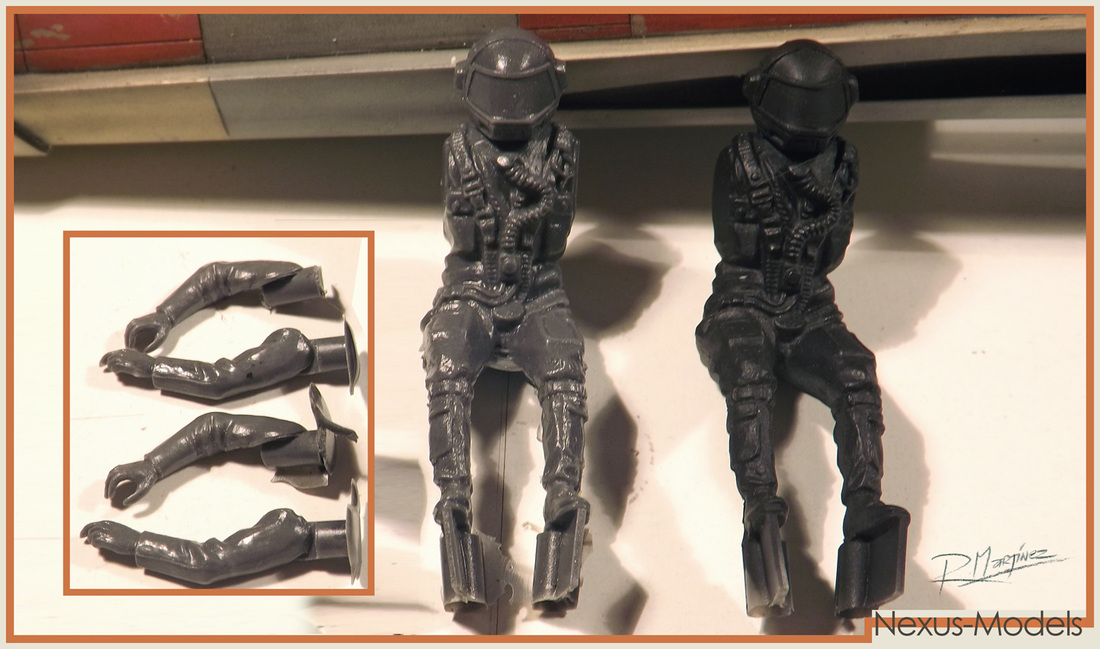
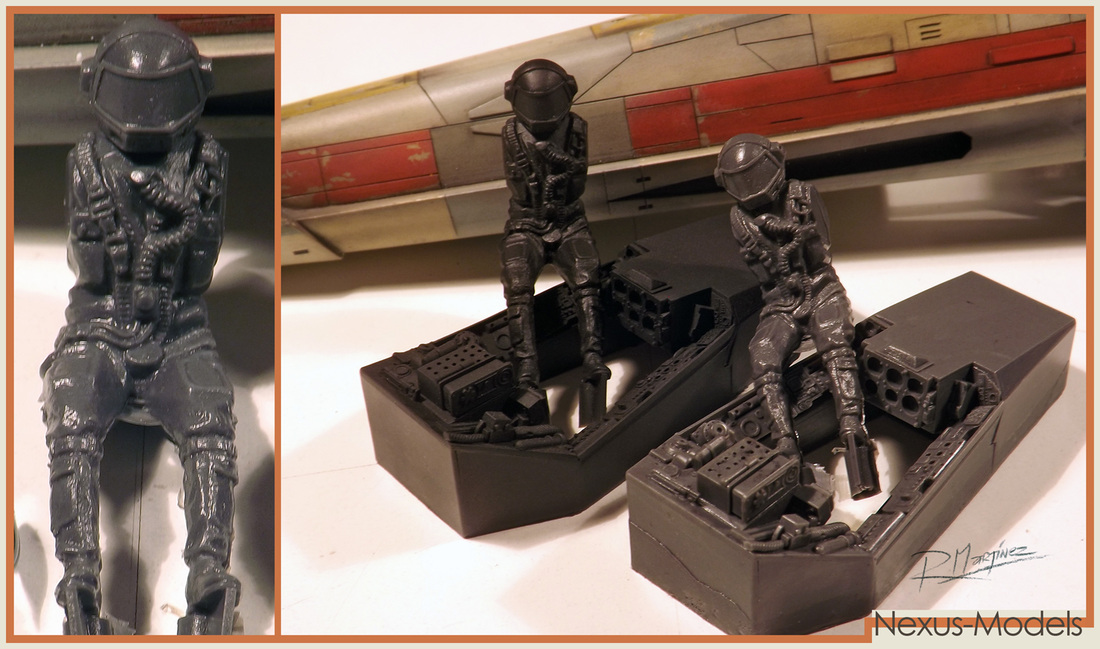
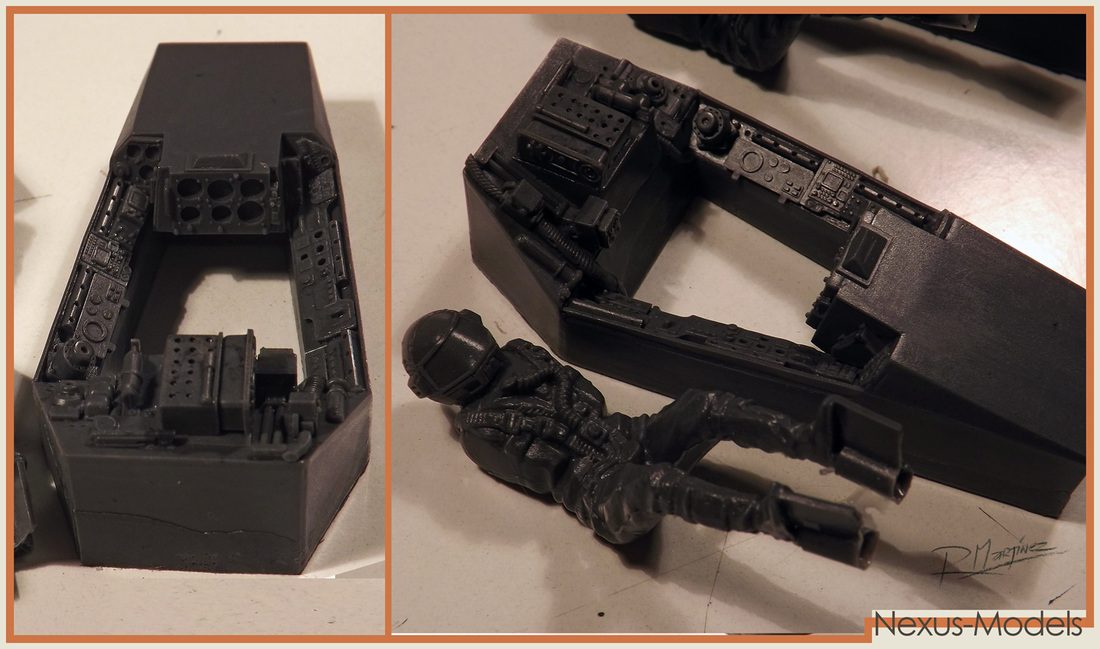
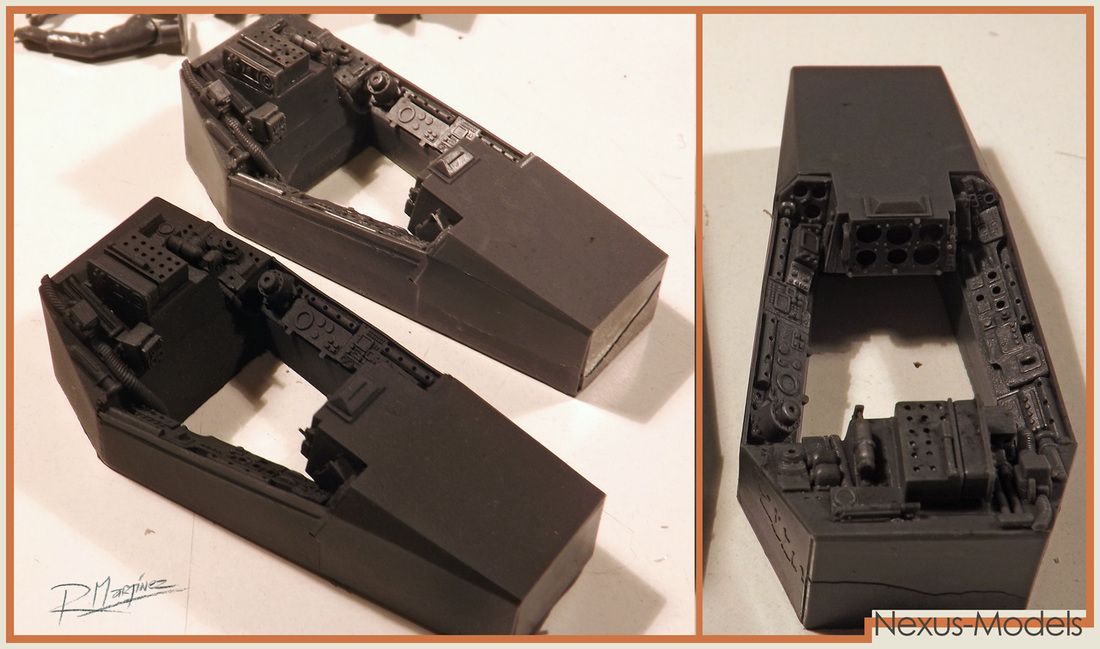
ILM Style Pilot & Cockpit.
|
The ILM Original filming models had pilots and control panels that were very different from the pilot outfit and life size controls seen on the movie. |
|
|

|
|
|
|
|
|
Sculpting the pilot's helmet.
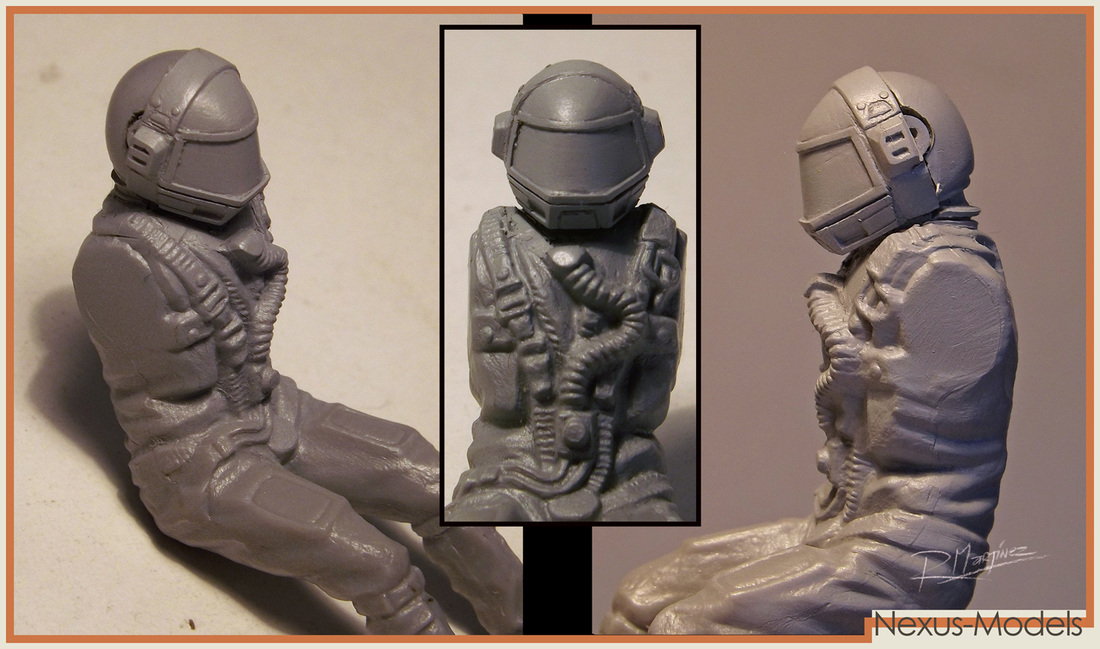
Pilot: finished sculpt
|
The body used by the ILM crew for the X-Wing and Tie fighter pilots, was taken from a 1/24th scale Harrier model. That part was easy, but the helmet was a different story. |
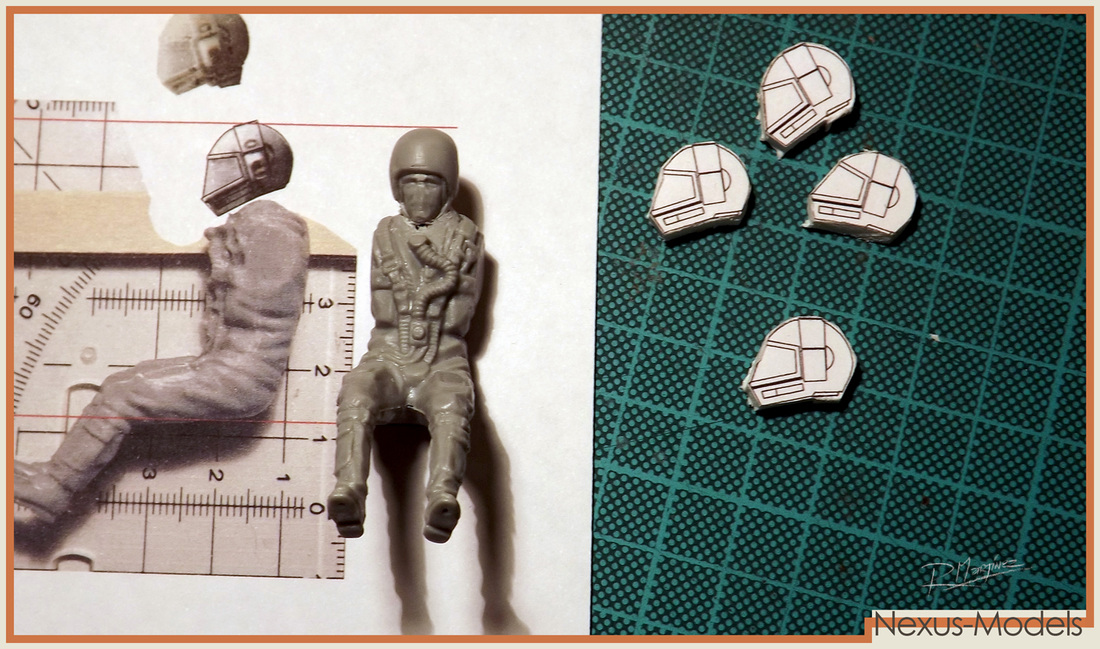
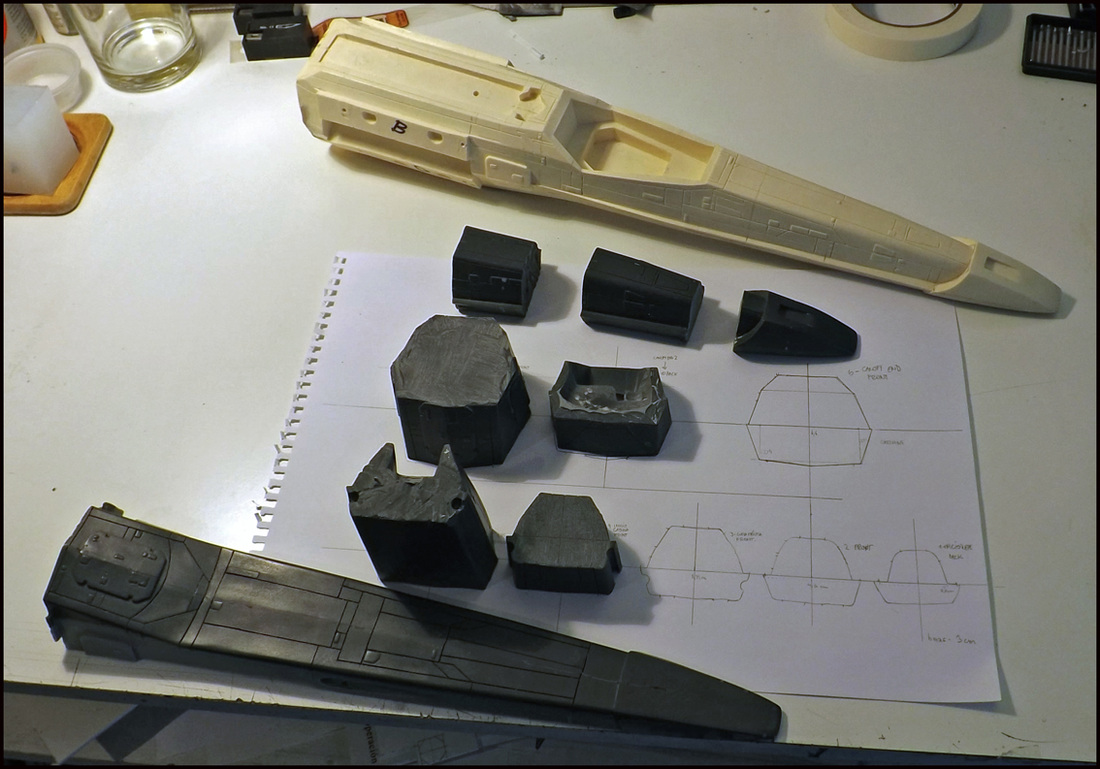
Making measurements and blueprints.
|
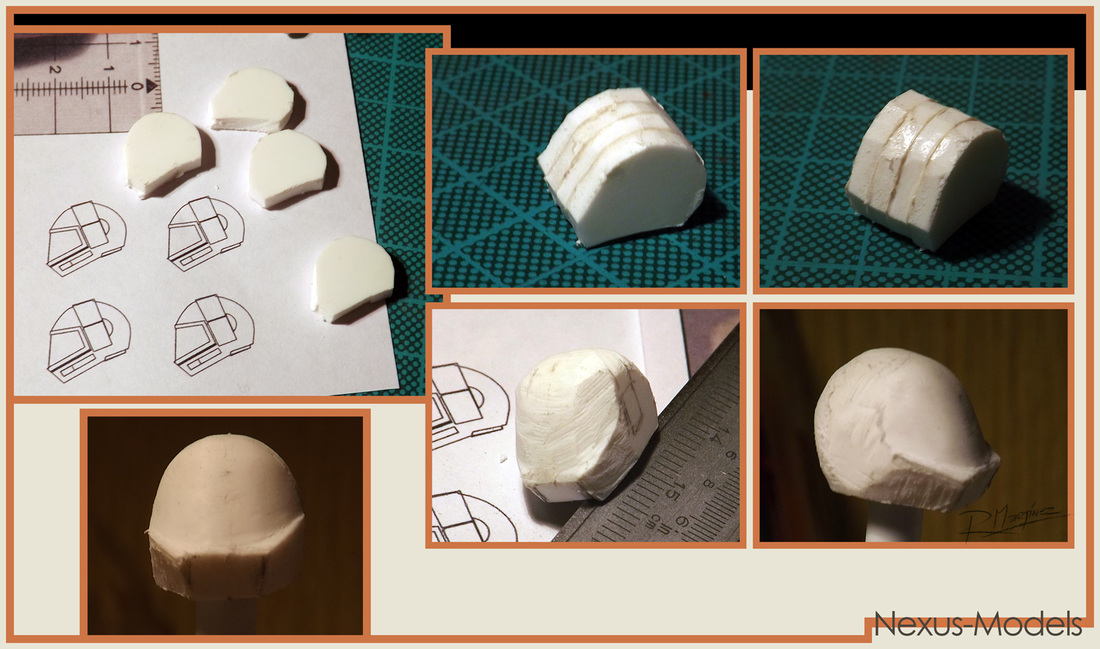
first construction attempt.
|
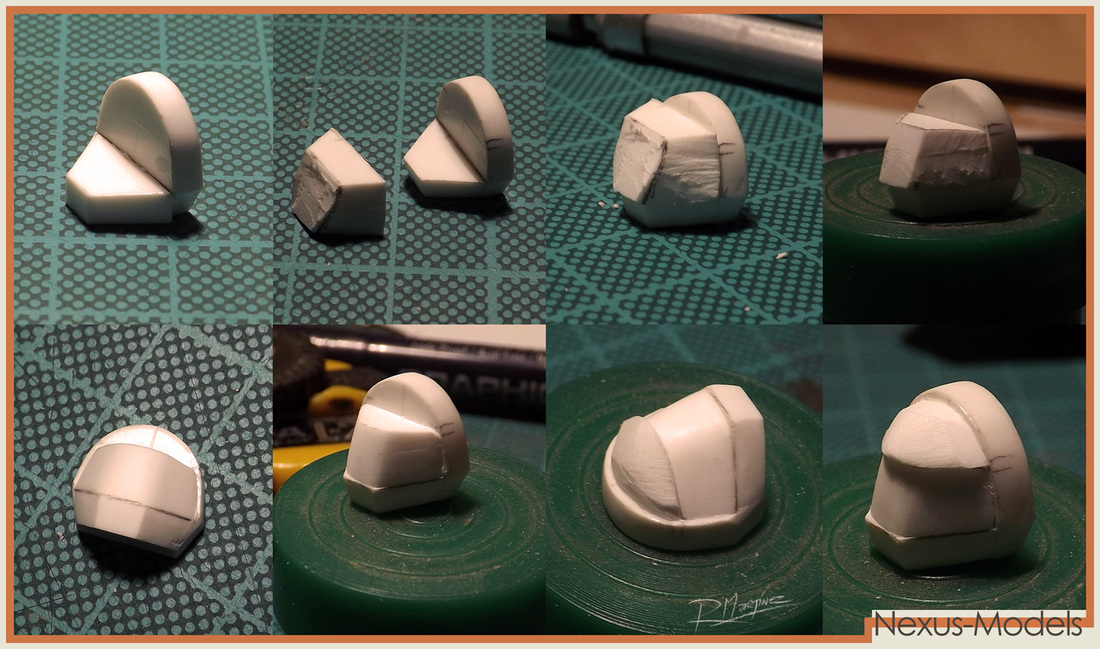
Final construction attempt.
|
